Friday, January 23, 2015

Where's Nemo?

I neglected to take a before picture, but I saw a chair similar to this (the Finding Nemo one on the left) at my local Goodwill Store.


Nemo had seen better days, bought I bought him anyway. His back was very wobbly, so I removed it and decided the seat would make a great little stool especially with the finger hold already there.


I painted it with Annie Sloan's chalkpaint in Duck Egg and then applied wax by hand. I decoupaged the seat with a sheet of scrapbook paper. I'm happy with how it turned out; it's very sturdy and would work great in a kitchen, bathroom, laundry room...anywhere a bit of extra height is needed. It's available now in my booth "Reruns" at Duke's Antique Center.

Monday, January 19, 2015

Princess Leia and Darth Vader Got Married

My cousin's son was married this past weekend; the theme of the wedding was Star Wars and 1940's Glamour. As it was a second marriage for both the bride and the groom, I knew a toaster wouldn't cut it as a gift, and I wanted to make something special for them. Keeping in mind that the cake topper was Darth Vader and Princess Leia, I started thinking of ideas. With a little Pinspiration I came up with these designs for pillows. While I drew the template for Princess Leia, The Commander drew Darth Vader. I used duck canvas for the pillow coverings and wool felt for the designs that I stitched on by machine. A little silver rickrack completed his facemask.

I was relieved and happy to hear from the newlyweds that they love the pillows. I've never seen a Star Wars movie (and am just fine with that)...I guess the force was with me!


Monday, December 8, 2014

Elf On The Shelf on Parade


Our small town has an annual Christmas Parade. For the past few years, my knitting group, The Wednesday Night Knitting Society - aka the WiNKS, has had an entry - and it always involves paper mache and yarn! This year's parade theme was A Storybook Christmas and we decided to do Elf On The Shelf. We started with a tomato cage, covered it in bubble wrap and poster board, and completed his look with a red "body" knit by one of our members who also knit his giant red and white hat. Other members knit his arms and legs, white mitts, and lovely pointed collar. To keep it cost effective, we used Red Heart yarn. His head started out as a beach ball which was covered in paper mache and paint, using dome lids from McCafe drinks for his cheeks and an avocado pit for his nose. (Sometimes you just have to use what's handy!) While creating him, we affectionately gave him the name Stitch.
During the creation stage. In the end we did not use lights under his outfit.


For Stitch's stability, we put a fat pool noodle inside the tomato cage; tall enough to secure his head on top of. We put small lights at the points of his collar and around the brim of his hat. Of course Stitch had to be knitting, so we fashioned needles from PVC pipe and using twisted coils of newspaper to resemble yarn, recycled the head of a previous parade entry's float's snow-woman into a ball of yarn and completed it with lights. The yarn on Elf's needles was a thick I-cord we made, and his project a scarf  - another recycled piece - a 16' long scarf that the aforementioned snow-woman had sported. We used straps to secure Elf to the top of the electric car that was driven in the parade. We decked the electric car out with knit and crocheted afghans and doilies on the wheel covers. There were eight of us in the parade: two in the car, one carrying our banner, and five handing out Corkies and candy. We dressed in red sweatshirts with white felt elf collars and red sequined elf hats. 

Corkies...that's another story. During the year most of us knit colorful little hats and scarves to embellish wine corks that we collect. After drawing faces on them, (each has a different personality), we bag them with a little tag wishing everyone Happy Holidays. Last year we handed out over 200 Corkies and ran out. This year we thought we were well prepared with more than 300, but alas we ran out again. We've learned that some people now have a collection of our Corkies and look forward to getting a new one each year.

Stitch was kept under wraps until parade night when he made his debut to the delight of spectators of all ages. It was heart-warming to hear small children exclaim, "Look, it's Elf on the Shelf! He's so cute!", especially since we know some children - and adults - are creeped out by Elf.

Elf is now residing in the window of our local yarn and fiber arts store The Stitchin' Post. He's happy there - in a warm and sunny space, knitting to his heart's content while being waved to and smiled at by many.


If I may say so myself, the WiNKS is a phenomenal group of women. (Although we do have a few token men who pop in from time to time.) We meet every Wednesday to eat, drink and knit (not necessarily in that order.) Our group is quite diverse - with ages 23 to 79 - and includes knitters from Australia, Holland, Israel, Morocco and Senegal. Some of us are retired (including a Postmistress and speech therapist), but most work...we have teachers, librarians, professors, administrative assistants, technology experts, a graphic designer, yarn dyeing professional, alpaca farmer, gymnastics coach, biology tutor, coffee roaster, nurse, and others. We enjoy teaching and learning from each other and frequently have a charity project under way. For several years we've knit sweaters for teddy bears that our local police and fire departments pass out to children, hats for the homeless, and fancy items for an auction that benefits Project Horizon. We just recently completed many pairs of fingerless mitts to go to young women who teach in India. Our most ambitious project to date was the 400 comfort dolls that we knit and sent to an orphanage in Africa. We also greatly enjoy anonymous yarn bombing  from time to time!


Tuesday, April 23, 2013

More Fun With Chalk Paint

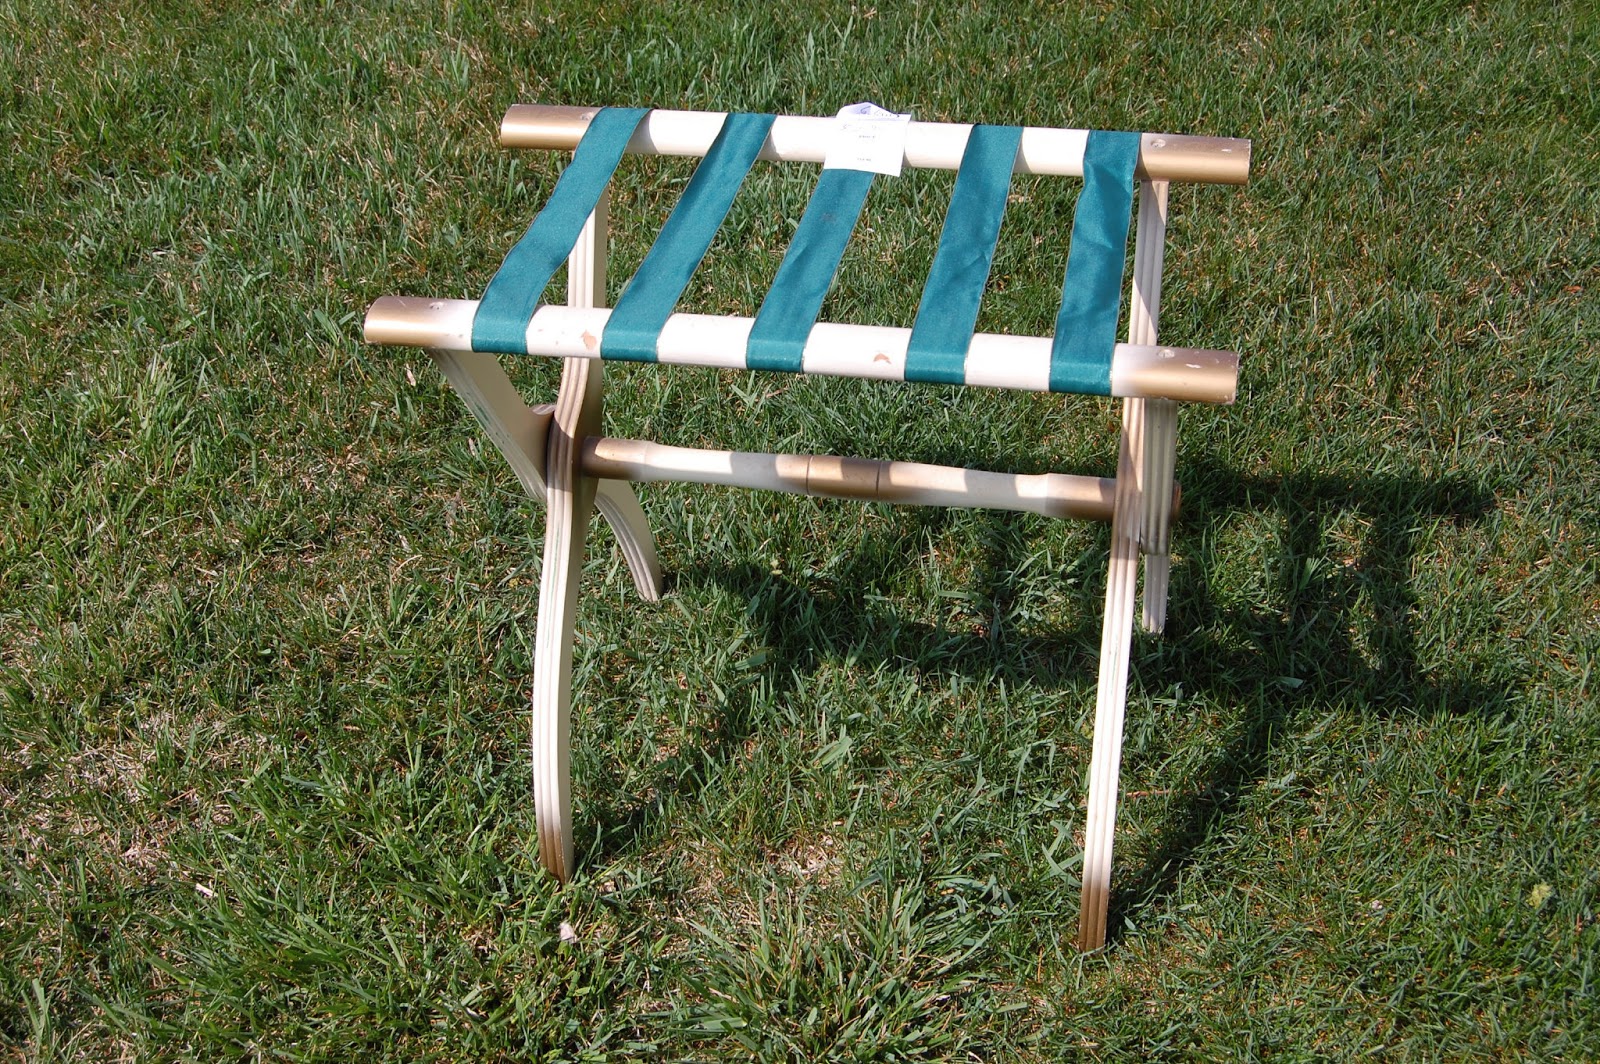
When a friend mentioned recently that she wished she had a luggage rack for her guest room, I said 'wish no longer'. With a luggage rack that I picked up a while ago at Goodwill for $2.95 in the basement, and a new jar of chalk paint sitting here calling my name, I got to work. 
With chalk paint, it doesn't take long to go from 'before' to 'after'. The paint I had was a mix of two reds (half Sedona Red and half Traverse City Cherry) by CeCe Caldwell.  I painted on three thin coats and finished it with a coat of satin acrylic sealant. The only store in town that sells ribbon didn't have anything appropriate, so I bought a bit of fabric and made the straps. 
Three days later, we were both thrilled with how it turned out. 


Bring on the house guests!


Monday, March 25, 2013

Another Trash to Treasure

The Commander is finally getting the spirit! 
When he recently came home with a chair he found outside a dumpster, 
I knew he had passed a milestone. It's hard to complain about an 
accumulation of stuff in the basement when one has contributed to it. 


He spotted this find outside the dumpster at our local Habitat for Humanity Store. He said he thought to himself - "somehow we can use this". (I love it when a family member starts to think like I do.) Our just married son and daughter-in-law are setting up their first real apartment and need 
additional seating, so this chair was just meant for them. I have been anxious to try chalk paint, bought a jar of  CeCe Caldwell's paint and wax [http://cececaldwells.com/] and got to work. 
As chalk paint does not require sanding or priming, I only had to clean the chair, paint on two coats and apply the wax as directed. The painted chair has a soft, nice feel. The Commander 
cut the seat from some plywood we had and covered it in foam; I covered the foam with fabric 
The Frugal Daughter bought for $.50 at an upholstery shop. 


It was a fun and rewarding project, and I really liked using the chalk paint. I'm on the lookout for more finds to paint. Hopefully, The Commander is, too!

Thursday, January 24, 2013

Classic Trash to Treasure


When leaving a thrift shop the other day, I passed their dumpster and noticed a beat-up high chair beside it. Being that it was a wooden high chair, I stopped and asked a man who worked there if I could have it. He said sure, so I put it in the back of the car, and much to The Commander's dismay, brought it home. Home this month is actually our daughter's house in Florida, and her husband is about as eager for me to bring things there as The Commander is. I thought I would have an ally in my daughter, though, and I was right. We went right to work cleaning it up, doing a little sanding, using wood filler, and a can of spray paint, and within a few days the chair was transformed into a shiny new seat! And I just love reminding The Commander and The SIL where it came from.


Monday, October 22, 2012

Pallet Fence

The Commander and I just returned from a 500 mile pilgrimage across Spain called El Camino de Santiago, or The Way of St. James. We saw many beautiful and interesting sights along the way; this is just one that caught my eye. What a great way to recycle pallets.


hewalksshestrolls.wordpress.com

Friday, June 15, 2012

Bucket Hats!


I've long admired the patterns from oliver + s. There are so many cute things to sew for girls, but not as many for boys. However, when I came across this pattern for a reversible bucket hat, and with our annual family beach week approaching, I knew I had to give it a go. Thanks to oliver + s for the free pattern. They turned out really cute! You can't tell from the photo, but the inside fabric is red bandana-like making them perfect for the Fourth of July.

Monday, May 7, 2012

Digging to China

Growing up in Norfolk, Virginia, I spent a lot of time at the beach. In my really younger days, a bucket, shovel and a friend or two would keep me busy for hours. We loved scooping up sand fiddlers and digging away. We never got to China, but that didn't stop us from continually trying.

Digging to China...it's one of those sayings that I don't remember who I heard it from and didn't even understand what it meant for years, I just know I spent a lot of time trying to get there!


AJ loves to dig. A lot. He seriously could stay outside digging all day. There is a corner in his yard especially for him to dig in. He has a fleet of dump trucks and hand tools. With his third birthday approaching, we decided to add to the collection and get him a sand digger toy. Picturing him on the new toy, I wondered if he'd be thinking he was digging to China. It just seems like an innate understanding. In case it isn't, I painted a sign so he would know. I wonder how long it will be before he thinks about what digging to China really means. I don't think I'll be able to tell him that no matter how long and far he digs, he would end up in the Indian Ocean. Did you know that Argentina and Chile are opposite China? Don't tell the kids.

Monday, January 16, 2012

A Frugal Friend

Splendid succulents.

We lived in Southern California from the mid-80's to the mid-90's. Last week, we went back for the wedding of our dear friends' daughter and I was reminded how many outdoor activities can be pursued year round there - including gardening. My friend Leslie of  3000tomatoes.com found a terrific set of shutters in an alley on trash day, and like any good trash picker, immediately stopped and loaded them in the back of her car. She had big plans! She took them home, and with her husband's assistance, backed them with plywood, mounted them around her patio, filled each louver with dirt and planted a variety of plants in them. Not only are they interesting and beautiful to look at, vertical gardening is a great plus in a community where yard space is limited. Bravo, Leslie!
What a lucky find - look how perfectly they fit the space.
Salad shutters just outside the kitchen door. Lettuces are on the right side; out of photo range are herbs and more.  


Saturday, September 24, 2011

School Days...

   You'll have to use your imagination here as I either neglected to take before photos, or I just can't locate them. At any rate, I found this old school desk in many pieces in my Dad's shed. Although I know it was there for a long time, I can't remember how or when he acquired it. On a recent visit to see my mother, when The Commander wasn't with me to complain, I loaded it up in the car and brought it home. 
   I laid all the parts out in the garage and then sanded each piece and put two coats of water based polyurethane on the wooden pieces. At some point it had been painted red and I left as much of that old paint as possible. I was able to preserve some scratches and doodle marks as well. Unfortunately, there were no initials or carved hearts. I spray painted the cast iron parts with black Krylon. 
It was rather tricky getting all the pieces back together; the slats fit together like pieces of a puzzle and one piece seemed to be missing. 
But, I persevered (and jury-rigged it a bit) and am very happy with the result. 


It now resides in a corner of our guest room - a nice spot to sit and tie your shoes.


A little research revealed the desk was made in Indiana by Peabody Stiggleman in 1906. 

Sunday, August 14, 2011

A Week at Camp


I built this chair with my two grandsons in mind. 
It is intentionally "wee and whimsical"- Dr. Seuss-like. 
I'm looking forward to next month when AJ and his new brother Wee come for a visit. 
I'll be ready for story time.

The Commander plays music as a hobby. A serious hobby. Every few years, he goes to music camp for a week in the summer. This year, the camp he chose to attend - Augusta Heritage Center in Elkins, West Virginia - also offered craft classes. I signed up for the Rustic Twig Furniture course, and expected to make a stool. But, after five days of class from 8:30 - 5:00, I left West Virginia with a small chair, a nearly finished footstool, and six new friends. The process was very interesting and a lot of fun. We started with the front of the chair, using maple branches that our instructor (Tom Lynch of West Virginia - a fantastic teacher) had cut and started drying six months ago. We did not use nails or screws, construction was mortise and tenon. The mortises (holes) were cut a bit smaller than the tenons (posts), the tenons were chamfered (beveled) and then coated with a thin layer of glue before being inserted in the mortise. (This could only be done once; to test it would have stretched the mortise and a tight fit could not be guaranteed.) It was not always easy to get the tenons or mortises done at the proper angle, so we always had a classmate "spot" us with the tools. We used a "tenoner" which fits on the end of a drill; for the mortises, we used a spade bit that had been ground down enough to make the mortises smaller than the tenon. The next step was to make the back, then add seat and side rungs and "whack" the whole thing together. Once. Again, no testing to make sure everything lined up. We then lightly sanded the wood and rubbed it with tung oil.
On Day Four we wove the seats using hickory bark that our instructor had previously removed from hickory trees in long strips. The bark was soaked in hot water for about 20 minutes, and it felt like leather to work with. The final step was to complete the back. We went to nearby woods and gathered green wood to use. I choose dogwood, feeling a bit like a rebel as it is illegal to destroy the state tree in the Commonwealth of Virginia.

Day One - the front is done!
Aligning the tenons and mortises.
It went together! Just needs a seat and a back.


hickory bark for the seat


An example of the maple.


Wednesday, December 29, 2010

A play kitchen for AJ

before ~ $12.99 at Goodwill
Our grandson is curious, inquisitive and oh, so imaginative. The Frugal Granny thought he might enjoy a play kitchen for Christmas and she was right! This was a fun project to make, and I learned a lot along the way. The main thing I learned is that solid wood is a lot easier to work with than laminate, but not as easy to find while thrifting. I didn't notice it in person, but looking at the photos, I see that I do not like the curtain, so that will be changed on my next visit, and a back-splash will be installed.
detail


after ~ complete with family photos on the 'fridge

Wednesday, November 24, 2010

AJ's new workbench

My one and a half year old grandson, AJ, loves to shadow his Daddy, The Engineer, doing jobs around the house. I thought AJ would enjoy a workbench of his own, and made one from this nightstand I bought for $3.00 at our local Habitat for Humanity Thrift Store. I also had to buy a can of paint, but everything else we had at home. The drawer pull is made from a folding wooden rule that belonged to my father who did not live long enough to meet AJ. It's sentimental, as I know they would have had a special bond. We delivered it this week while visiting for Thanksgiving, and AJ loves it!


Coincidentally, a label inside the drawer stated the furniture was made in a Florida prison. I bought it in Virginia; it is now back in Florida!

before...


after!
drawer detail
love that sweet little arm...